Introduction to DIY Mechanic Tool Kits
Creating your mechanic tool kit is not just an act of necessity; it’s a step towards independence and empowerment. The Importance of Creating Your Tool Kit lies in having the right tools at your disposal whenever you need them, tailored to your requirements and preferences. The Benefits of DIY Tool Kit Assembly include cost savings over pre-assembled kits, the ability to handpick higher-quality tools, and the immense satisfaction and sense of accomplishment from building something uniquely suited to your mechanical endeavors.
Assessing Your Needs
Before making purchases, start by Identifying Common Mechanical Tasks you’re likely to undertake, from routine maintenance like oil changes to more complex repairs. This will help Determine Basic vs. Advanced Tool Requirements. A basic toolkit might suffice for regular upkeep, while more specialized tasks will require advanced tools.
Step 1: Gathering Basic Hand Tools
The backbone of any mechanic’s kit is a solid set of hand tools. Focus on gathering different wrenches and sockets, including types and sizes, to accommodate various nuts and bolts. Expand your collection to include screwdrivers and Routers, useful for tasks ranging from electrical repairs to component adjustments. Don’t forget Additional Essentials: Hammers, Tape Measures, etc., indispensable for various applications.
Step 2: Adding Power Tools
Power tools bring speed and efficiency to your mechanical work. Essential Power Tools: Drills, Impact Wrenches, etc., are vital for tasks requiring more strength or precision than hand tools can provide. When selecting these, weigh the Considerations for Corded vs. Cordless options based on your workspace setup and the need for portability versus power.
By following these initial steps, you lay a strong foundation for a versatile and efficient DIY mechanic tool kit tailored to your specific needs and tasks. This adaptability ensures you’re always prepared, no matter the mechanical challenge. Remember, the best tool kit is the one that fits your unique mechanical challenges and aspirations, and with this guide, you’re well on your way to creating it.
Step 3: Incorporating Specialty Tools
Once you have the basics covered, it’s time to consider Understanding Specialty Tool Needs. Specialty tools can significantly enhance your ability to perform certain repairs or maintenance tasks. For instance, OBD-II Scanners are indispensable for diagnosing modern vehicles, providing error codes and data that help pinpoint issues. Torque Wrenches ensure that bolts are tightened to the correct specifications, which is crucial for engine work and wheel mounting.
Step 4: Organizing and Storing Your Tools
A well-organized tool kit saves time and prevents loss or damage. Invest in quality Toolboxes and Storage Solutions that suit your space and the size of your collection. Utilize Organizational Tips for Easy Access, such as labeling drawers and using tool organizers or pegboards to keep your tools neatly arranged and readily available when needed.
Step 5: Maintaining and Caring for Your Tools
To ensure your tools last and continue to perform effectively, establish a routine for Regular Cleaning and Maintenance Tips. This includes wiping down tools after use, applying appropriate lubricants, and storing them in a dry place to prevent rust. Inspecting and Replacing Worn Tools is also crucial; regularly check your tools for signs of wear or damage and replace them as necessary to maintain the integrity of your work.
Step 6: Expanding Your Tool Kit
As your mechanical skills and interests grow, so will your tool needs. Continuously Evaluating Additional Needs Over Time allows you to identify gaps in your toolkit or emerging requirements based on new projects or technologies. Upgrading and Adding Tools as Skills Grow enhances your capabilities and ensures that your toolkit remains relevant and effective for a wide range of tasks and challenges.
Safety Considerations
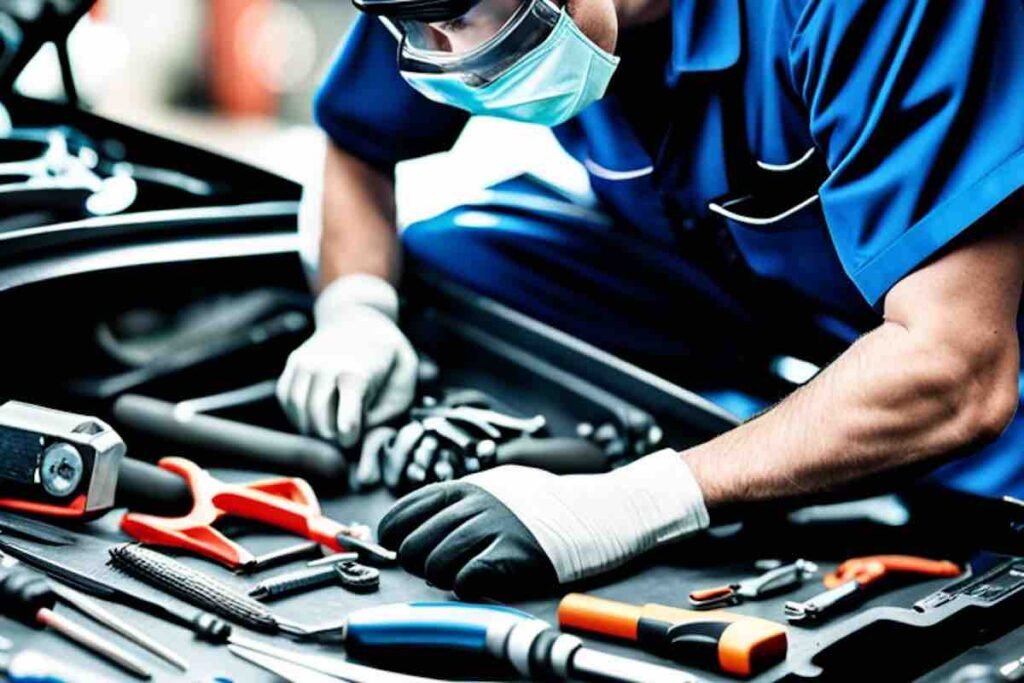
When assembling and using your DIY mechanic tool kit, Safety Equipment is not optional—it’s essential. Equip yourself with safety goggles, mechanic gloves, and ear protection to mitigate the risks associated with mechanical work. Adhering to Best Practices for Safe Tool Usage, such as reading all tool manuals, keeping your workspace clean and organized, and never bypassing safety features on tools, ensures not only your safety but also the longevity of your tools and projects.
Budgeting for Your DIY Tool Kit
Building a comprehensive tool kit requires Planning Your Purchases. Prioritize tools based on the projects you plan to tackle first. Utilize Tips for Finding Quality Tools Within Your Budget, such as taking advantage of sales, buying in sets rather than individually, and considering refurbished or gently used tools from reputable sources.
Conclusion: Building Your Mechanic Legacy
We’ve outlined the essential steps for Assembling a DIY Mechanic Tool Kit, from selecting the basic hand tools to incorporating specialty equipment and emphasizing safety. Remember, this kit is more than just a collection of tools; it’s the foundation of your mechanical skills and achievements. Encouragement for Continuous Learning and upgrading is key to growing as a mechanic. Embrace each project as an opportunity to expand your knowledge and tool collection.
FAQs
- What is the first tool I should buy?
- Start with basic hand tools like wrenches, screwdrivers, and pliers, as they are the most versatile and widely used.
- How can I save money when building my tool kit?
- Look for combo deals, purchase refurbished tools, and buy tools as you need them for specific projects.
- Are expensive tools always better?
- Not necessarily. Focus on the tool’s quality and warranty rather than just the price. Sometimes mid-range tools offer the best value for quality and durability.
- How often should I update my tool kit?
- Regularly assess your toolkit for wear and consider updates or replacements when taking on new projects.
- Can I share my DIY tool kit with friends or family?
- Yes, but ensure they understand the safety procedures for each tool and know the importance of maintaining and returning them in good condition.
For those looking to expand their toolkit with quality pneumatic tools and accessories, visit pneumatictoolz.com or contact us at sales@pneumatictoolz.com. Elevate your mechanical projects with the right tools from Pneumatic Tools and Accessories – your journey to becoming a proficient DIY mechanic starts here.